Option description
Import mesh
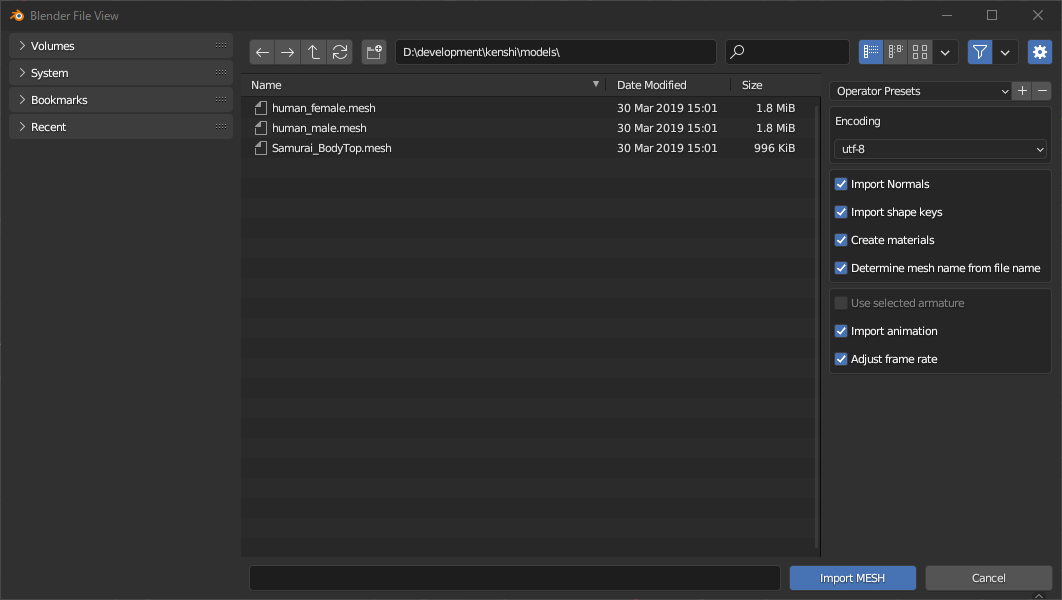
- Encoding
- Encodes mesh and material names in a character code of your choice.
- Import Normals
- If enabled, apply vertex normals (Blender calls them split normals).
- Create materials
- If enabled, add materials using the material names contained in the file.
- Determine mesh name from file name
- When enabled, the mesh name will be {filename}{submesh index}.
- When disabled, the mesh name will be the sub-mesh name contained in the file. If there is no corresponding item, it will be the same as when enabled.
- Use selected armature
- When enabled, imports the mesh linked with the active armature.
- Mainly enabled when importing armor meshes.
- Ignore this option if the active object is not an armature.
- Import animation
- When enabled, animations will be imported as actions when importing skeletons linked to meshes.
- Adjust frame rate
- When enabled, changes the FPS of the scene to match the animation.
Export mesh
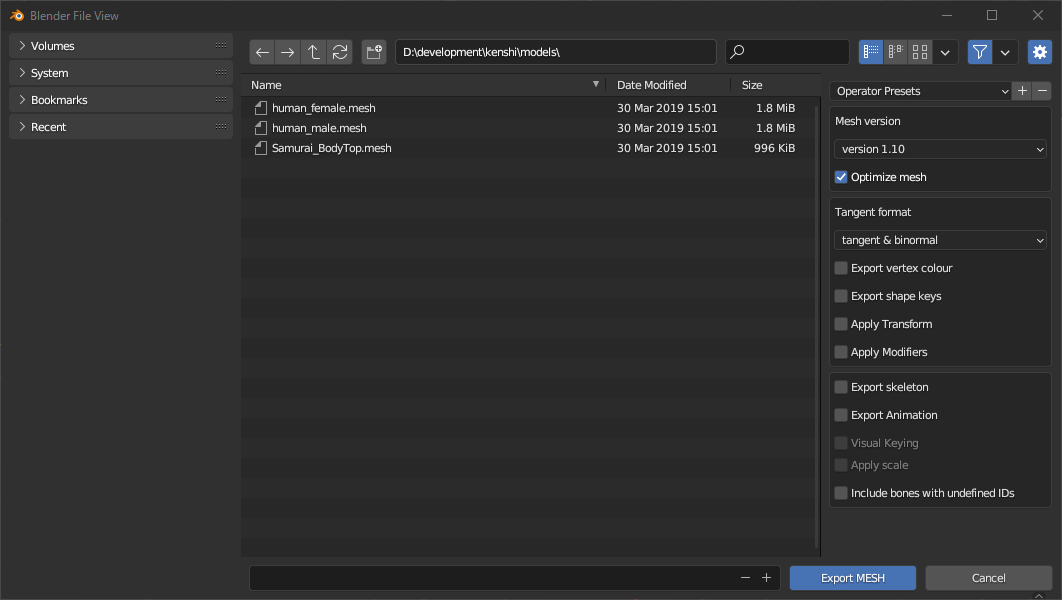
- Mesh version
- Export mesh (and skeleton) in selected version.
- Basically choose the default “version 1.10” and select the specific version when loading with a particular tool.
- Optimize mesh
- When enabled, duplicate vertex information is removed and exported.
- Tangent format
- I basically use “tangents and binormals”.
- If there is no UV map, it implicitly exports “no tangents”.
- Export vertex colour
- When enabled, exports vertex colors.
- Export shape keys
- When enabled, exports shape keys.
- Apply Transform
- When enabled, it will be exported with the transform applied.
- Apply Modifiers
- When enabled, exports with modifiers applied.
- Export skeleton
- When enabled, exports the armature as a skeleton.
- The export target is the object referenced by the armature modifier of the mesh.
- Export Animation
- When enabled, exports skeletons with animations.
- The export target is the action of the NLA track contained in the armature and the currently referenced action.
- Visual Keying
- When enabled, the action will be baked with bone constraints and drivers applied. However, the export takes longer.
- When disabled, the F-Curve of the action is baked.
- Apply scale
- When enabled, animations can have scale keyframes applied.
- Include bones with undefined IDs
- When enabled, bones without OGREID property will be automatically numbered and exported.
Import skeleton
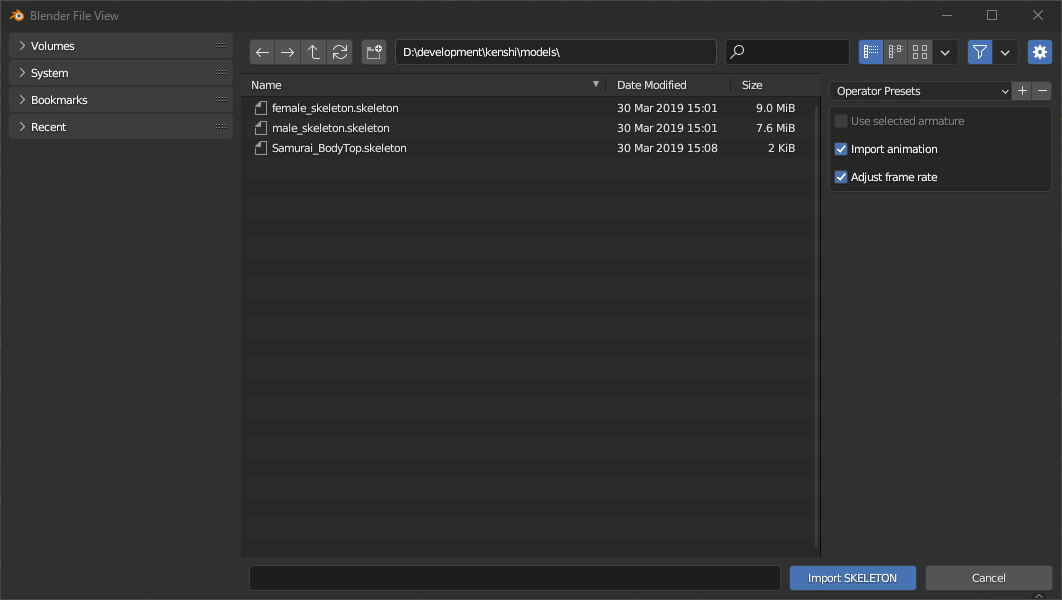
- Use selected armature
- When enabled, animations will be imported by linking with the active armature.
- Ignore this option if the active object is not an armature.
- Import animation
- Adjust frame rate
Export skeleton
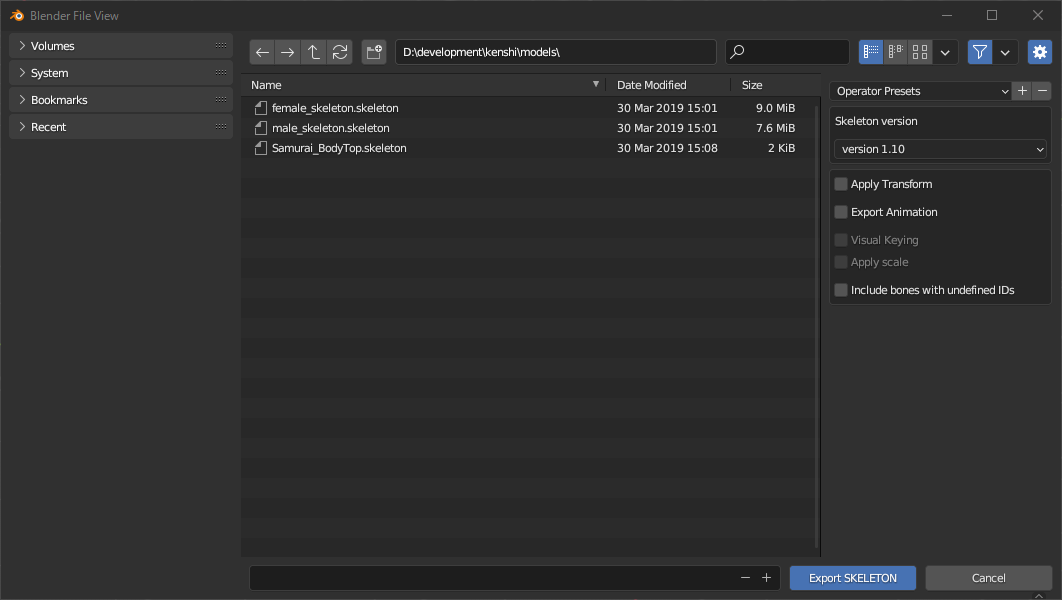
- Skeleton version
- Export skeleton in selected version.
- Basically choose the default “version 1.10” and select the specific version when loading with a particular tool.
- Apply Transform
- Export Animation
- Visual Keying
- Apply scale
- Include bones with undefined IDs
Import collision
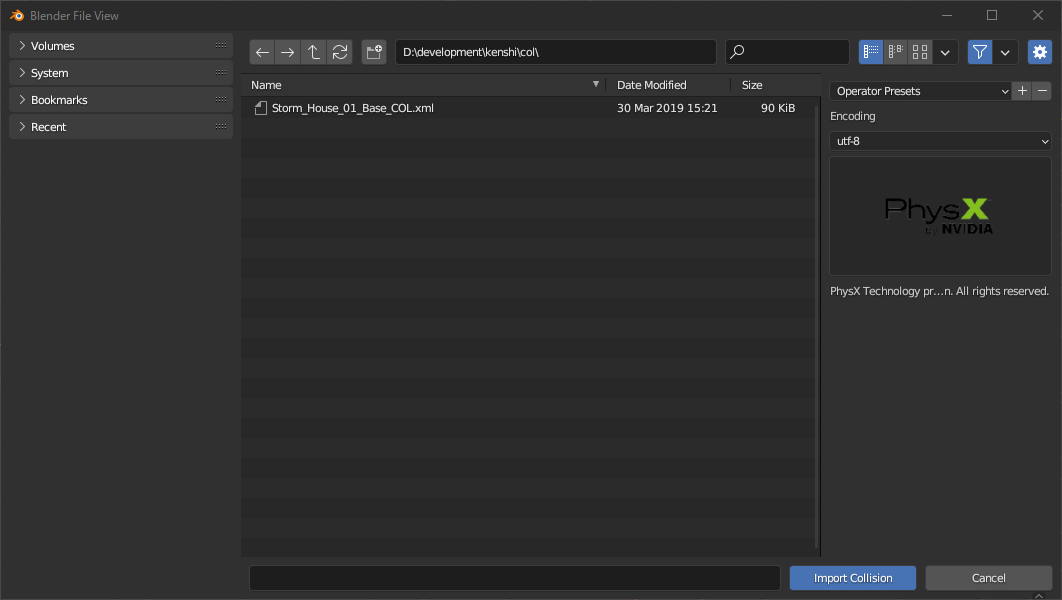
- Encoding
- Encode the XML file with the selected character code.
Export collision
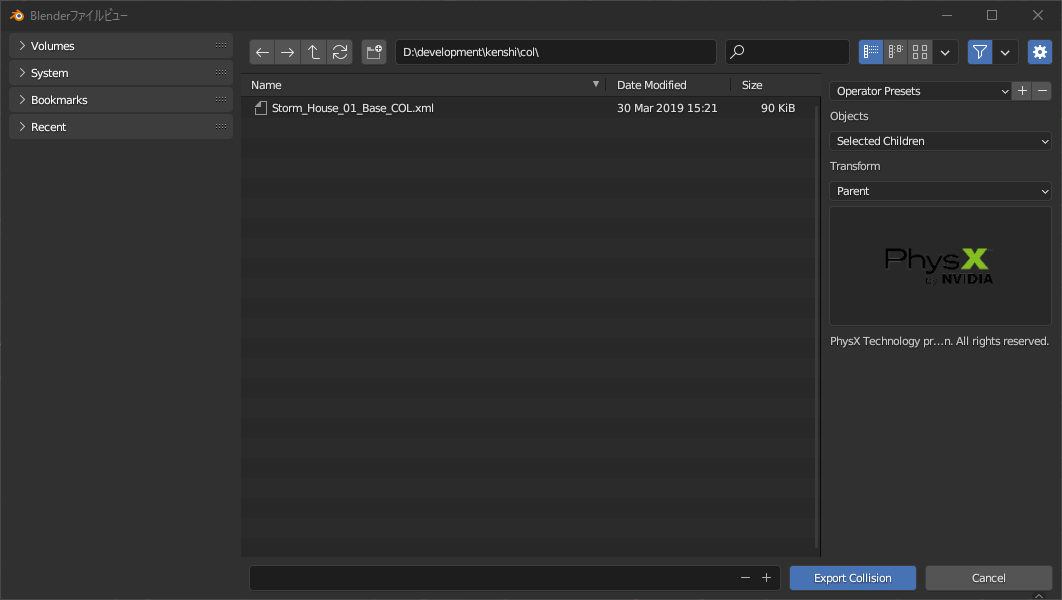
- Objects
- “All Objects” exports all collision objects in the scene.
- “Selection” exports only selected objects
- “Selected Children” exports the selected object and all its child objects.
- Transform
- Adjust the global position of the object.
- “Scene” is relative to the origin of the scene.
- “Parent” is relative to the common parent.
- “Active” is relative to the active object.